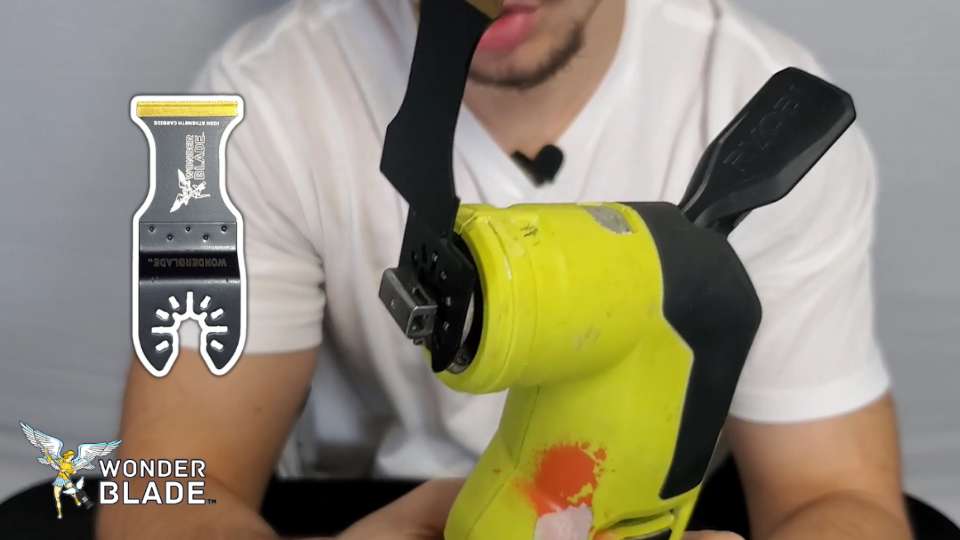
For DIY enthusiasts, the RYOBI tool is the best way to get started as the trusted among customers. With its wide variety of attachments, the Ryobi oscillating multi-tool is versatile. It empowers you to tackle a wide range of DIY projects. Understanding how to change blade on the Ryobi oscillating multi-tool is a key part of the tool skill. It makes you feel knowledgeable and in control of your projects.
But, before starting any project, it’s essential to understand how to handle tools properly. Our skill with tools is directly linked to how well we know their features. It’s not just about getting the job done; it’s about ensuring your safety and protection. It makes you feel informed and knowledgeable, empowering you to take on various DIY projects.
If you haven’t had the chance to review the manufacturer’s manuals, don’t worry. This tutorial is designed to walk you through the basics and equip you with the skills to master the Ryobi Oscillating Multi-Tool.
As a trusted DIY Tool Brand, RYOBI is known for its ability to innovate and lead. This brand is an obvious choice for users of all skill levels, from DIY to professionals. They offer an extensive product line, cordless convenience, and valued products. Their high-performance brushless range of 18V tools with greater power and speed allows for completing tasks more quickly and effectively. The tools are optimized for longer running periods and more work per charge. The ergonomic design ensures comfort during extended usage without sacrificing performance efficiency.
Their RYOBI 18V ONE+ HP & 40V provides cutting-edge technology with compact tool heads. It can deliver 20,000 operations per minute (OPM) and fit into confined places. Besides, it features an onboard LED light that lights the dark work area, improving visibility. This tool head is designed to fit into tight spaces and has excellent ergonomics. The product manual includes various attachments, usage guides, and instructions for how to change blade on the Ryobi oscillating multi-tool. If you’ve skipped the manual, here’s a concise guide on how to do it.
This multi-tool can be used with a wide range of suitable accessories. Cutting wood, plasterboard, plastic, and fine sanding are among others. This product line comes in two varieties: one requires an Allen key to change the tool, while the other is toolless and requires no tools. The instructions for how to change blade on the Ryobi oscillating multi-tool are given for both the Allen key and toolless models below.
You should remove the batteries before replacing the blade on a Ryobi oscillating multi-tool. This applies to both the toolless and Allen key variants. This keeps the item from accidentally activating while using it, ensuring safety. Release the switch trigger and set the variable speed dial to “0” to confirm the tool is off. Next, take the battery pack out.
To change blades on the Allen key multi-tools model:
Overall, toolless models typically don’t require additional tools and are quick and convenient for changing blades.
The Ryobi Oscillating Multi-Tool has numerous attachments; a few of its applications are listed below.
Each accessory enhances the multi-tool’s functionality and versatility, making it appropriate for various DIY projects.
Warning: When using this Ryobi Oscillating Multi-Tool, you should not use any attachments or accessories the manufacturer does not recommend. Individuals run the risk of suffering significant injuries if they employ attachments or accessories that are not recommended.

*However, the major issue is that many blades that you’ll find in your local hardware store tend not to last, here at WonderBlade we have an all around General Purpose Oscillating Tool Blade that lasts time and time again against hundreds of cuts through wood, fiber cement, sheetrock, plastic and more*
Getting proficient at changing the blade on your Ryobi oscillating multi-tool is crucial to improving your DIY skills. Whether your Ryobi oscillating multi-tool is an Allen key or a toolless model, changing the blades is easy.
However, safety should always come first. Ensure the new blade is fitted correctly, abide by the rules to avoid mishaps and injuries, and tidy your workspace.
Use the appropriate personal protective equipment, read the safety instructions, and familiarize yourself with the tool’s manual to ensure a secure and protected DIY experience.
Submit your questions, thoughts, or concerns to help us make better content just for you: